Happy DIY Monday!!
I don’t feel near 100 percent yet, but I have been told by many who have suffered the same flu that it takes weeks so I will take what I can get. I missed you all and thank you for all your well-wishes!
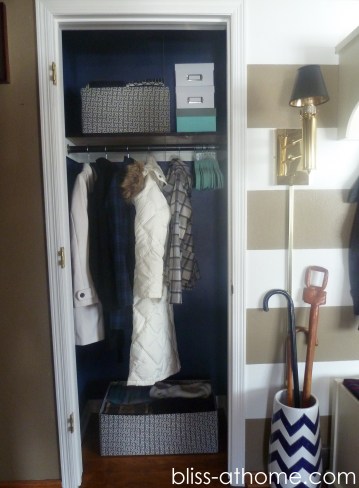
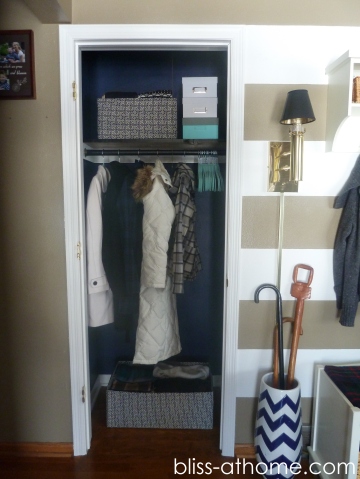
Today’s DIY is (as promised) a tutorial on how I made the fabric boxes for my coat closet makeover.
The Supplies:
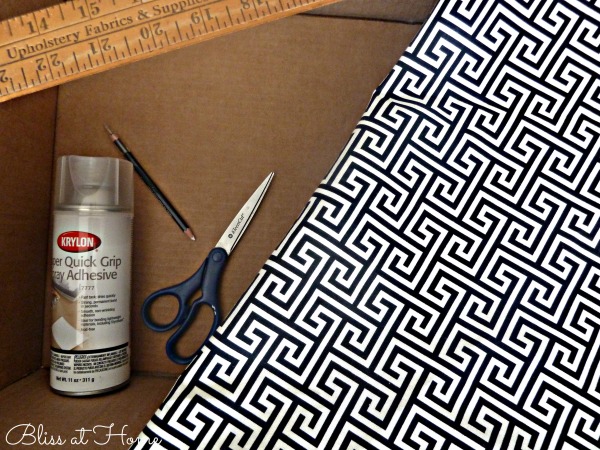
Cardboard boxes
Fabric (I bought 2 yards for the boxes I did)
Spray Adhesive (3M has the best one, I just used what I had already)
Scissors or Straight Cutter
Yardstick
Chalk or Fabric Marker
No Sew Glue to secure corners
Step 1: Inside Cuts

The first cut you want to make is for the bottom of the inside. I just chalked my line right on the fabric and cut. Then I measured the inside walls and cut those. I cut the length of two walls in one cut, so you should only have to make 2 cuts for all four walls.I added a extra inch to allow for the top to fold over the other side.

Now for the spray adhesive. Make sure you are working in a well-ventilated area and protect your surroundings before using. Basically, use the same precautions you would use when using a can of spray paint. Coat the entire area that you want to place the fabric on. Press it down and smooth out any bumps. As you see in the photo above I cut the 2 corners on top so they would fold nicely over the side.

Go ahead and glue your overlapping sides down after you make your two corner cuts.
Step 2: Outside Cuts
Now you are ready to make your outside cuts for your box. I used the same concept for the outer sides. I measured the length of 2 sides for one cut. Remember to leave an extra inch on the bottom and an extra inch on the top.
Go ahead and spray your surfaces and attach your fabric cuts.
Here you see how I folded the extra fabric on the bottom. I used spray adhesive and I also used the No Sew Glue on the tricky corners.

I also temporarily used tape to hold my adjoining corner in place before I sprayed my last 2 sides and added the last fabric piece. I used the No Sew Glue on the overlapping pieces too. **To get a good seal with the No Sew Glue just make sure you apply it to both the fabric and the surface you want it to attach to.

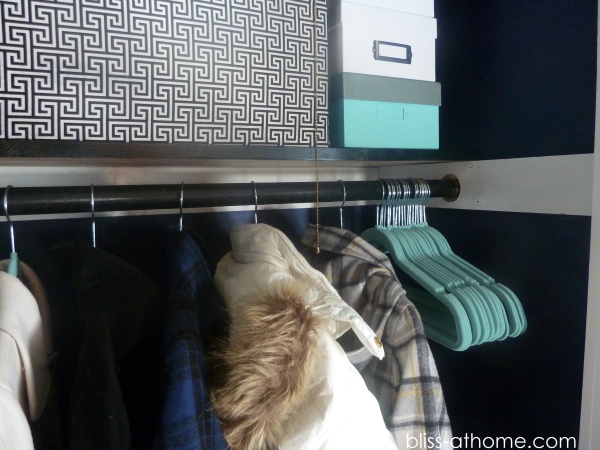
This was the perfect solution for our winter storage needs. I couldn’t find baskets or storage boxes in the size and pattern I wanted so this was the next best thing. When all else fails, make your own!

Happy Monday!!

Follow Bliss at Home:
Facebook
Twitter
Pinterest
Instagram
linking to:


 Aside from the flu–which took a big chunk out February for us unfortunately–Dave surprised me with this awesome